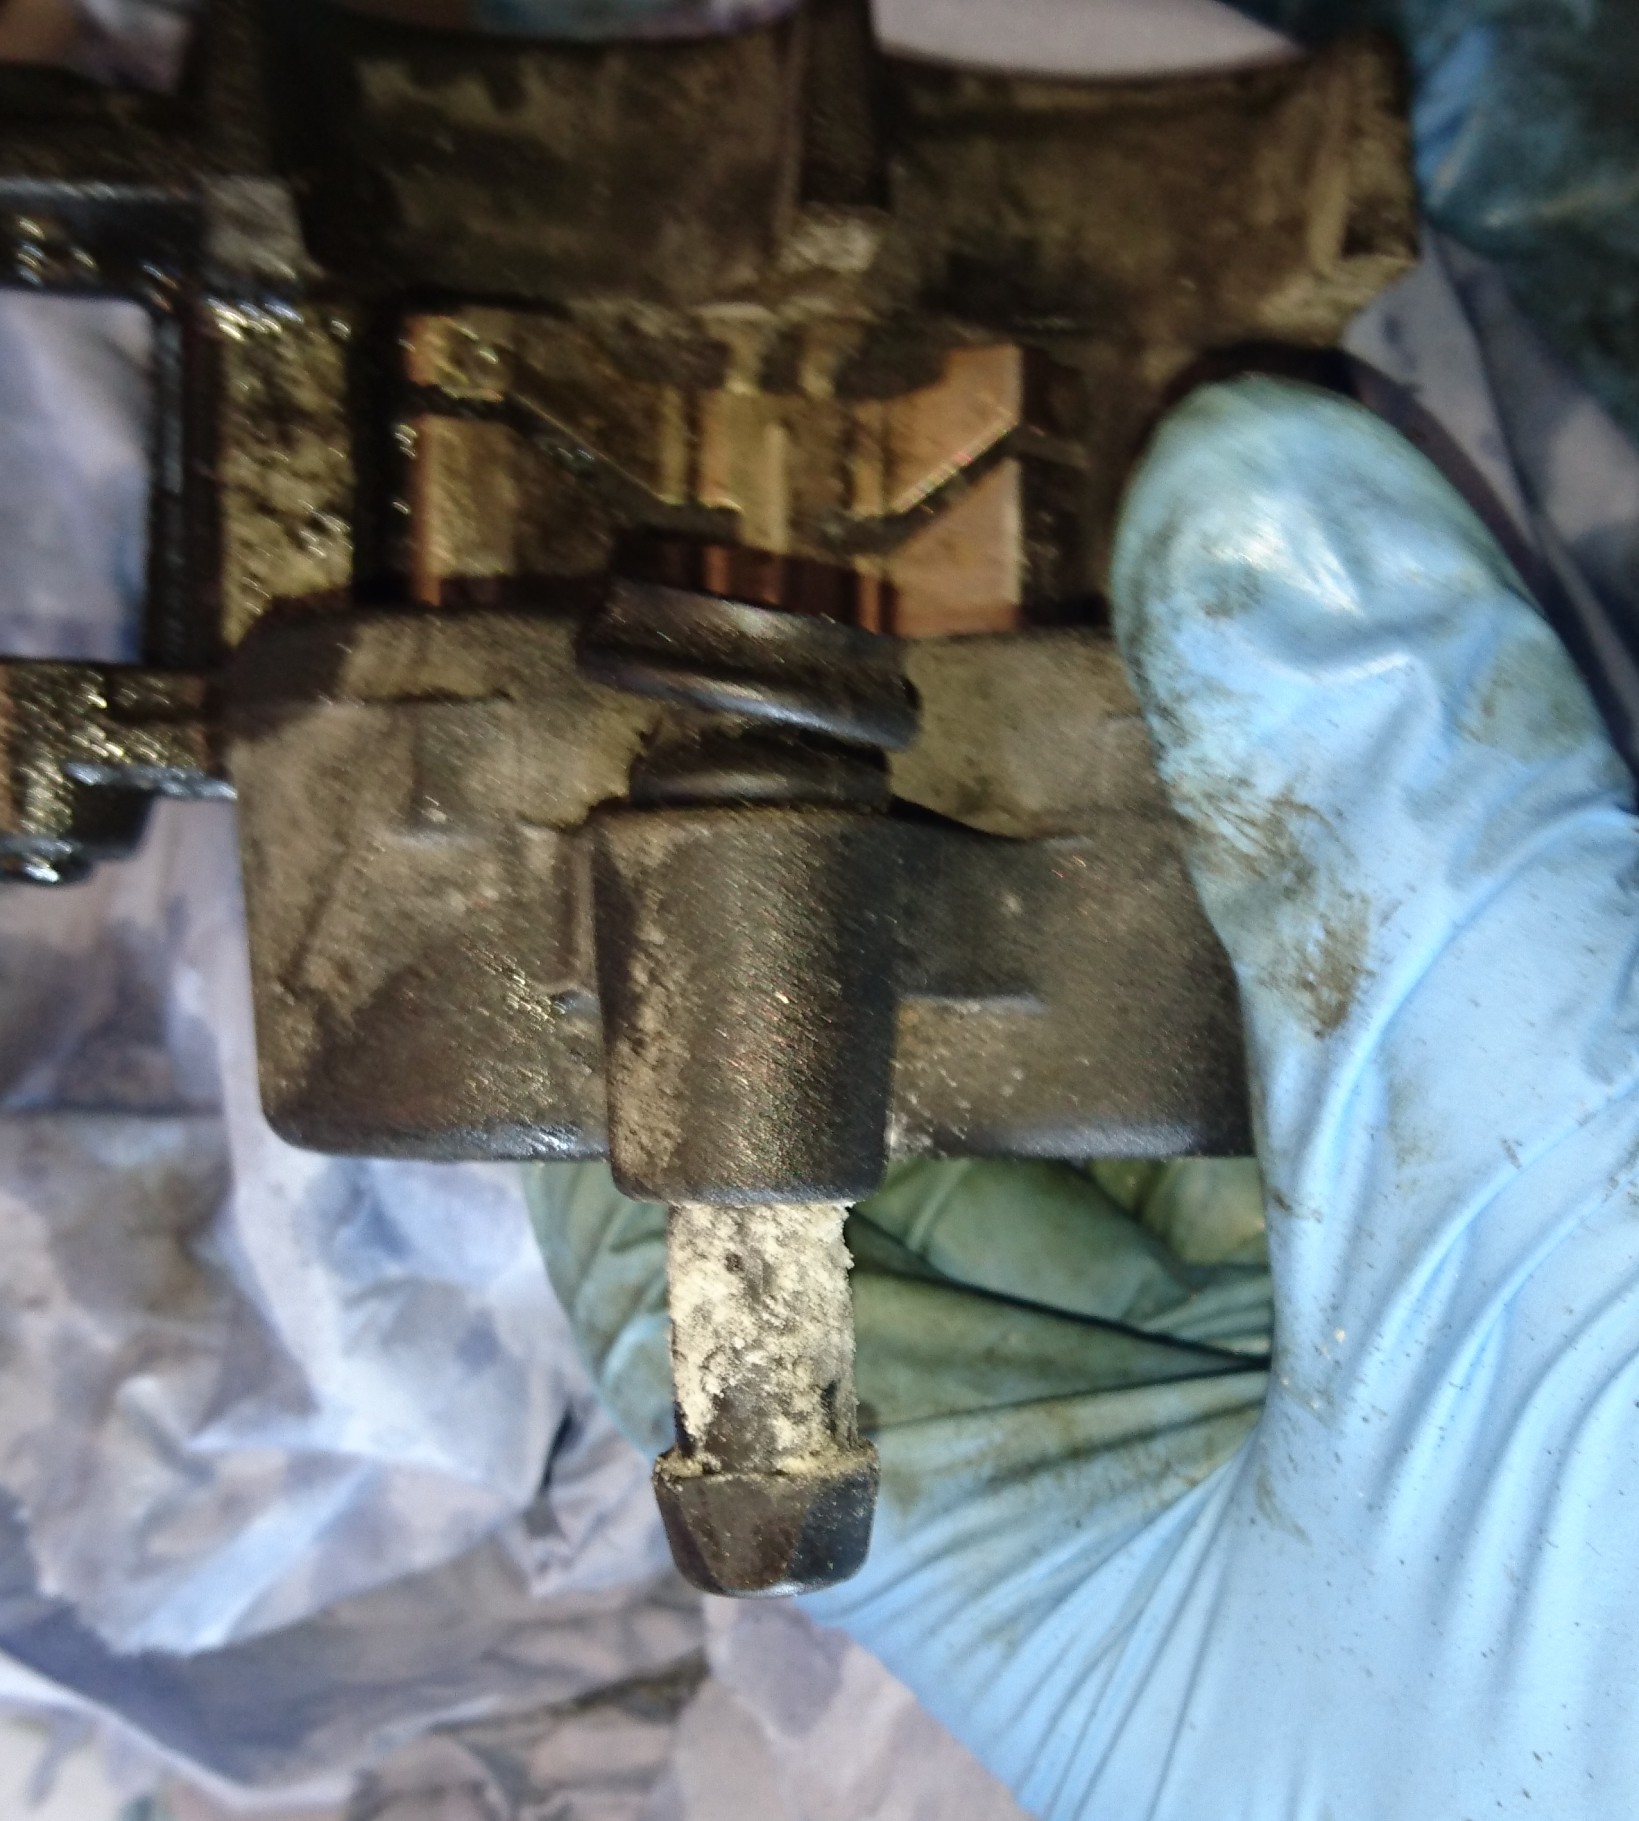
During my most recent brake caliper maintenance routine it was obvious that a quick clean wasn’t going to be enough this tile. At least one dust seal on each of the front calipers was obviously bulging round the edge of the pistons and the caliper sliders were very stiff. Time for a caliper strip down and overhaul.
If one caliper is showing signs like these then it is a good idea to service all of the calipers on the bike at the same time for peace of mind.
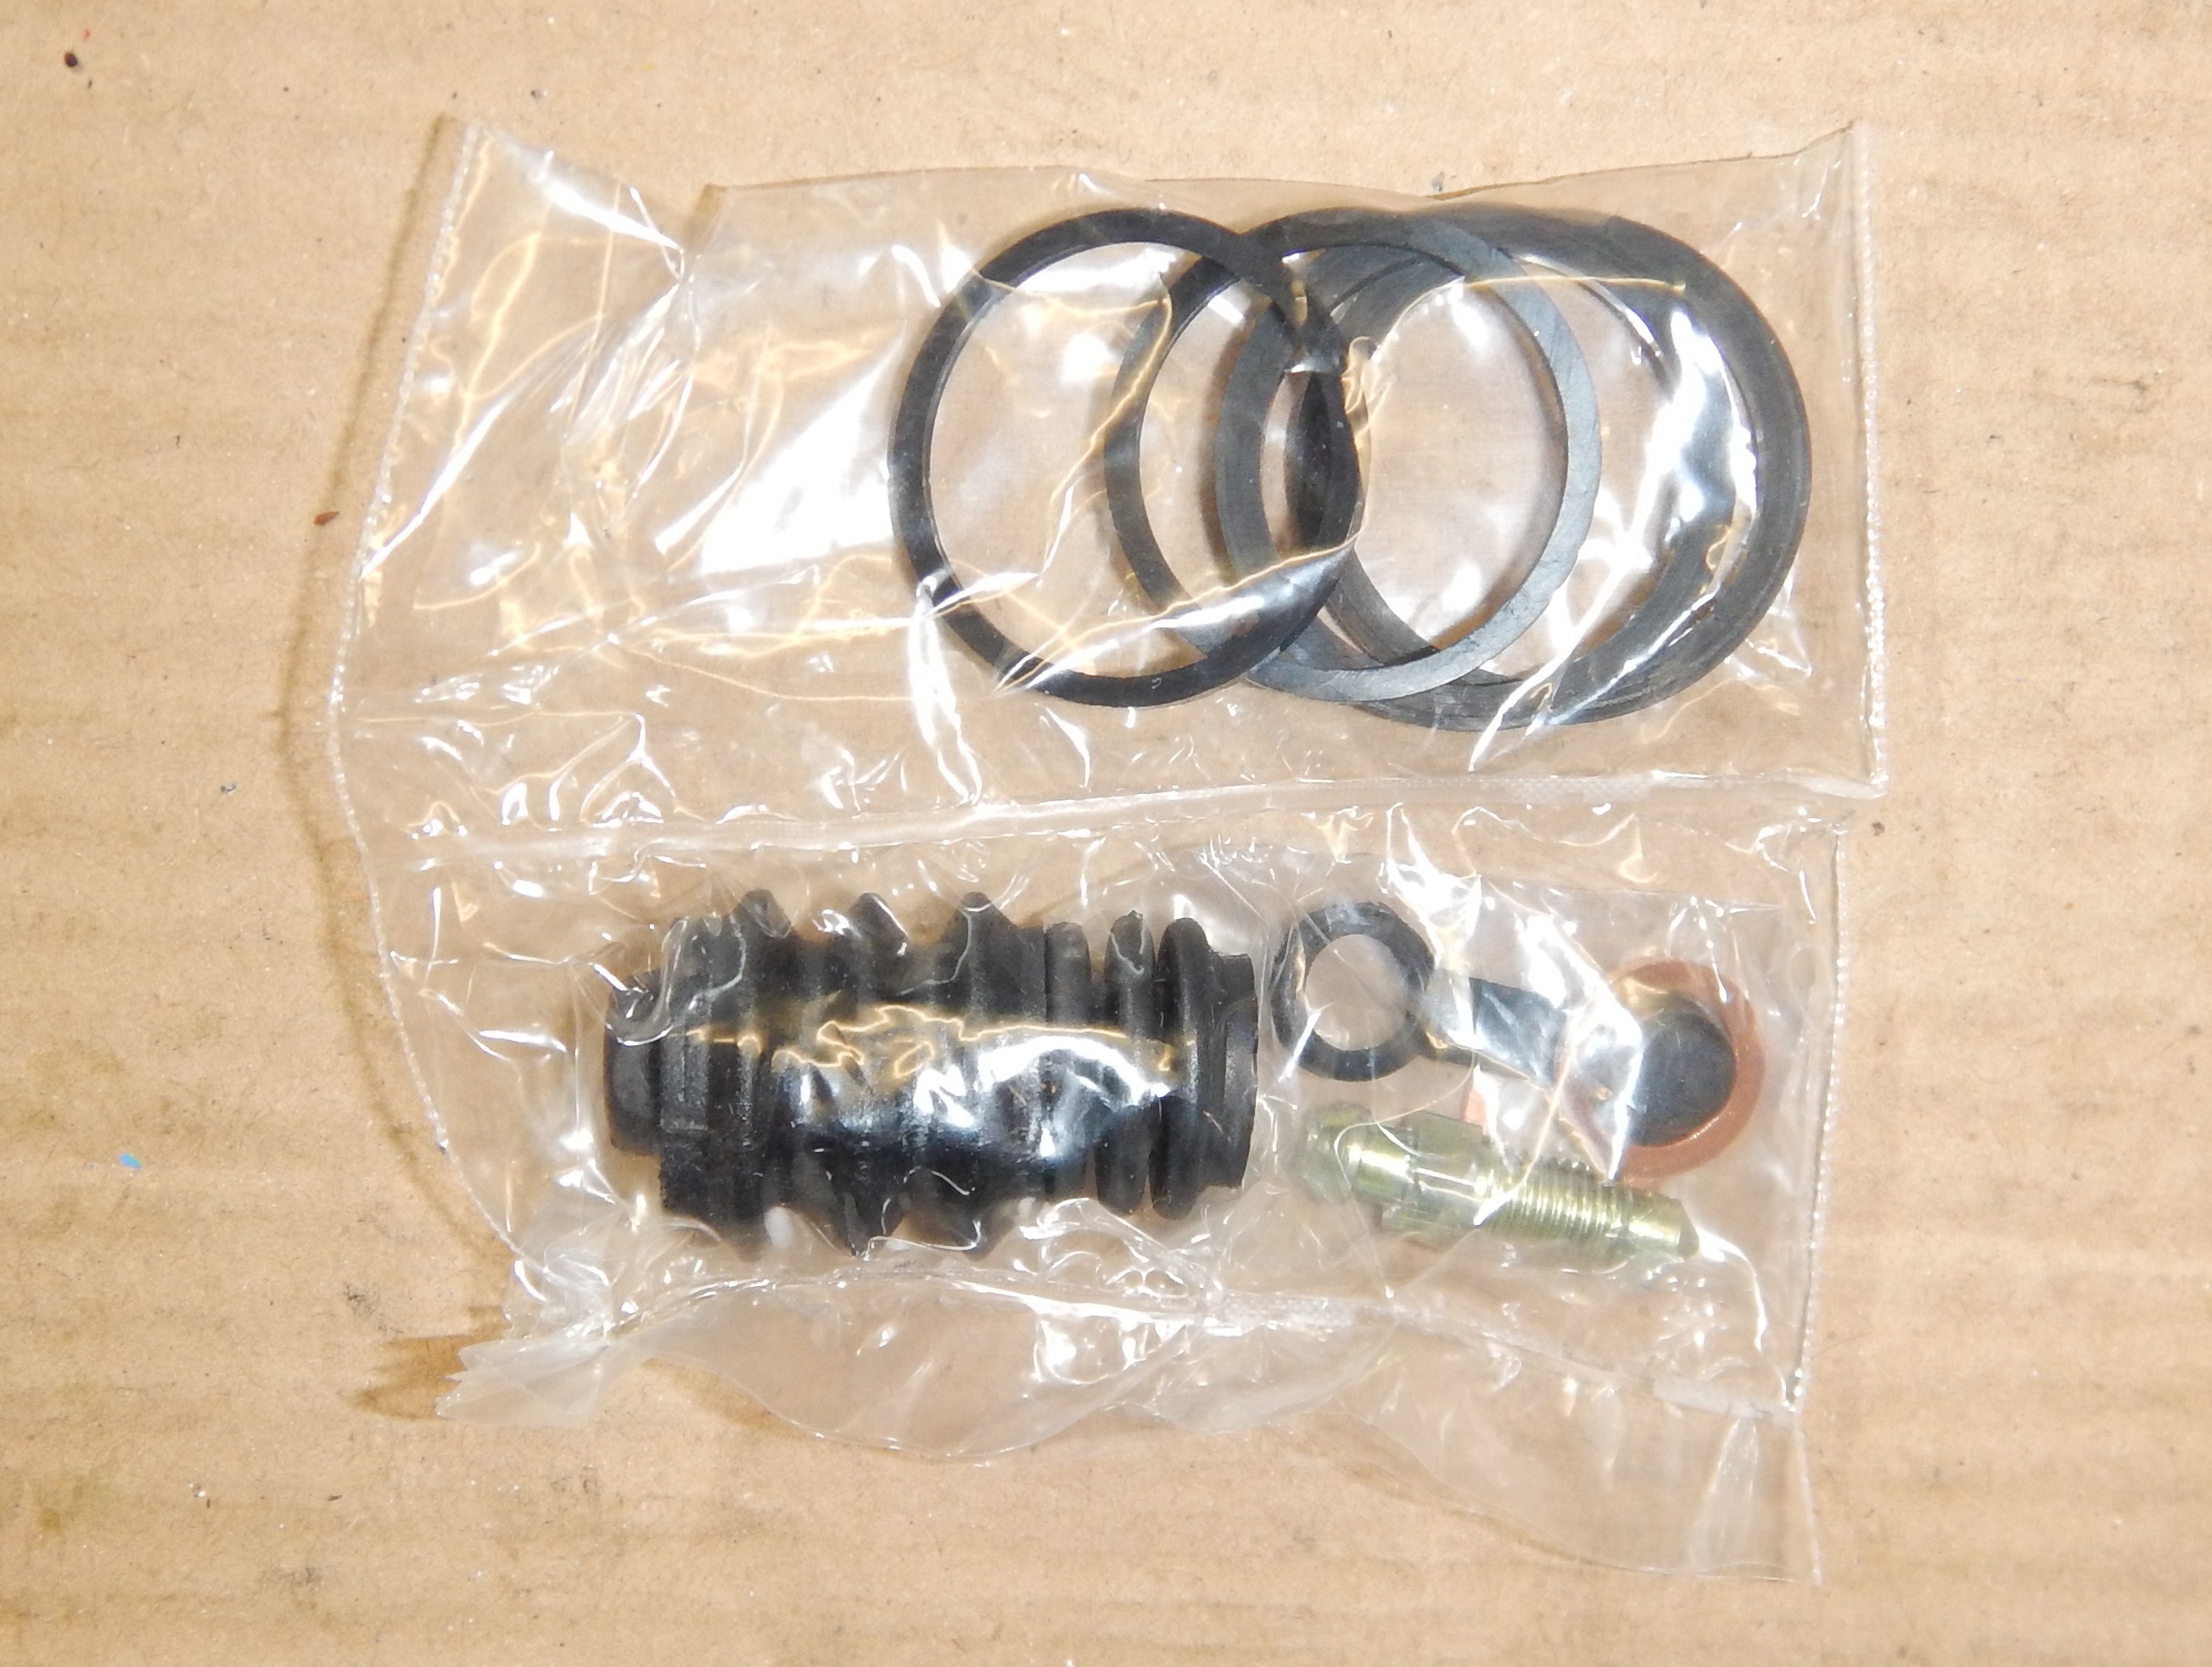
It’s always a good idea to have everything you might need for a job like this before you start.
I found complete seal kits from Powerhouse Automotive which also include replacement bleed nipples, bleed nipple rubber caps and new slider boots for sliding calipers These kits seemed a lot better value than the equivalent OEM parts at a fraction of the cost.

Miscellaneous tools and materials I had to hand prior to starting work on the calipers: –
- A set of picks for removing the old seals and cleaning out the seal seating grooves.
- Plenty of brake cleaner.
- Old toothbrush.
- Plenty of paper towels.
- Fresh brake fluid.
- Basin or container to catch any spilled brake fluid.
- Nitrile gloves (brake fluid & brake cleaner are not good for the skin and saves you from having to scrub your hands all the time.
- Brake hose clamp (not essential but helps retain fluid in the rest of your braking system making it easier to bleed later on which is especially applicable on ABS bikes).
- Other items that may be useful – small flat headed screwdriver, needle file, motorcycle brake piston removal tool (to remove any sticky pistons from caliper body).
There are plenty of good videos on youtube showing you how to service calipers, so this will not be full detailed “how-to” but I’ll just highlight some things that I think are worth pointing out and worked for me.
Only work on one caliper at the one time. If you have a bike with twin front calipers with a single hose coming from the brake system and a small hose connecting the two calipers together routed across the back of the mud guard then start with the caliper with the two hoses connected to it first. The reasoning behind that is that when you complete the second caliper you will continue bleeding the full brake system and when you see fresh fluid coming out of the bleed nipple on that side then you will know that the whole system has new fluid in it.
Prior to removing the caliper you are going to work on, carefully loosen and then nip back up both the bleed nipple and the brake hose banjo bolt. This is much easier to do with the caliper firmly fixed to the bike prior to removal than trying to do it later on with the caliper hanging from the brake hose.
Once you have the caliper off the bike remove the brake pads and caliper sliders (if applicable) to expose the pistons.
Prior to removing the pistons I have my hose clamp all ready to go on the inlet hose leading from the master cylinder (more about that in a minute).

The easiest way to remove sticky pistons is with the hydraulic system on the bike. Carefully pump the brake lever and make sure that the pistons are all extending by the same amount. This is where you may have to us some wood or similar to prevent the loose pistons from extending too far while you try and work the sticky pistons.

Holding the caliper above your bucket/basin, keep working the pistons evenly until the first one slides out and brake fluid starts coming out. Immediately clamp the inlet brake hose to prevent the rest of the system draining down into the caliper. The brake fluid will piss out of the caliper so be ready with plenty of paper towels to mop up any spills. You can unbolt the brake hose banjo bolt at this point to make the caliper easier to work on.
As long as you have worked the pistons evenly then the remaining pistons should be able to be removed relatively easily. If you have any pistons that are a bit stubborn then you can use a piston removal tool which clamps the piston from inside and doesn’t damage the outer surface. I try to line the inside face with a strip of bicycle inner tube just to give some extra grip and protect the piston if I have to use the tool.
Once the pistons are out, remove any remaining parts such as the brake pad retaining spring, the bleed nipple and slider gator(s).

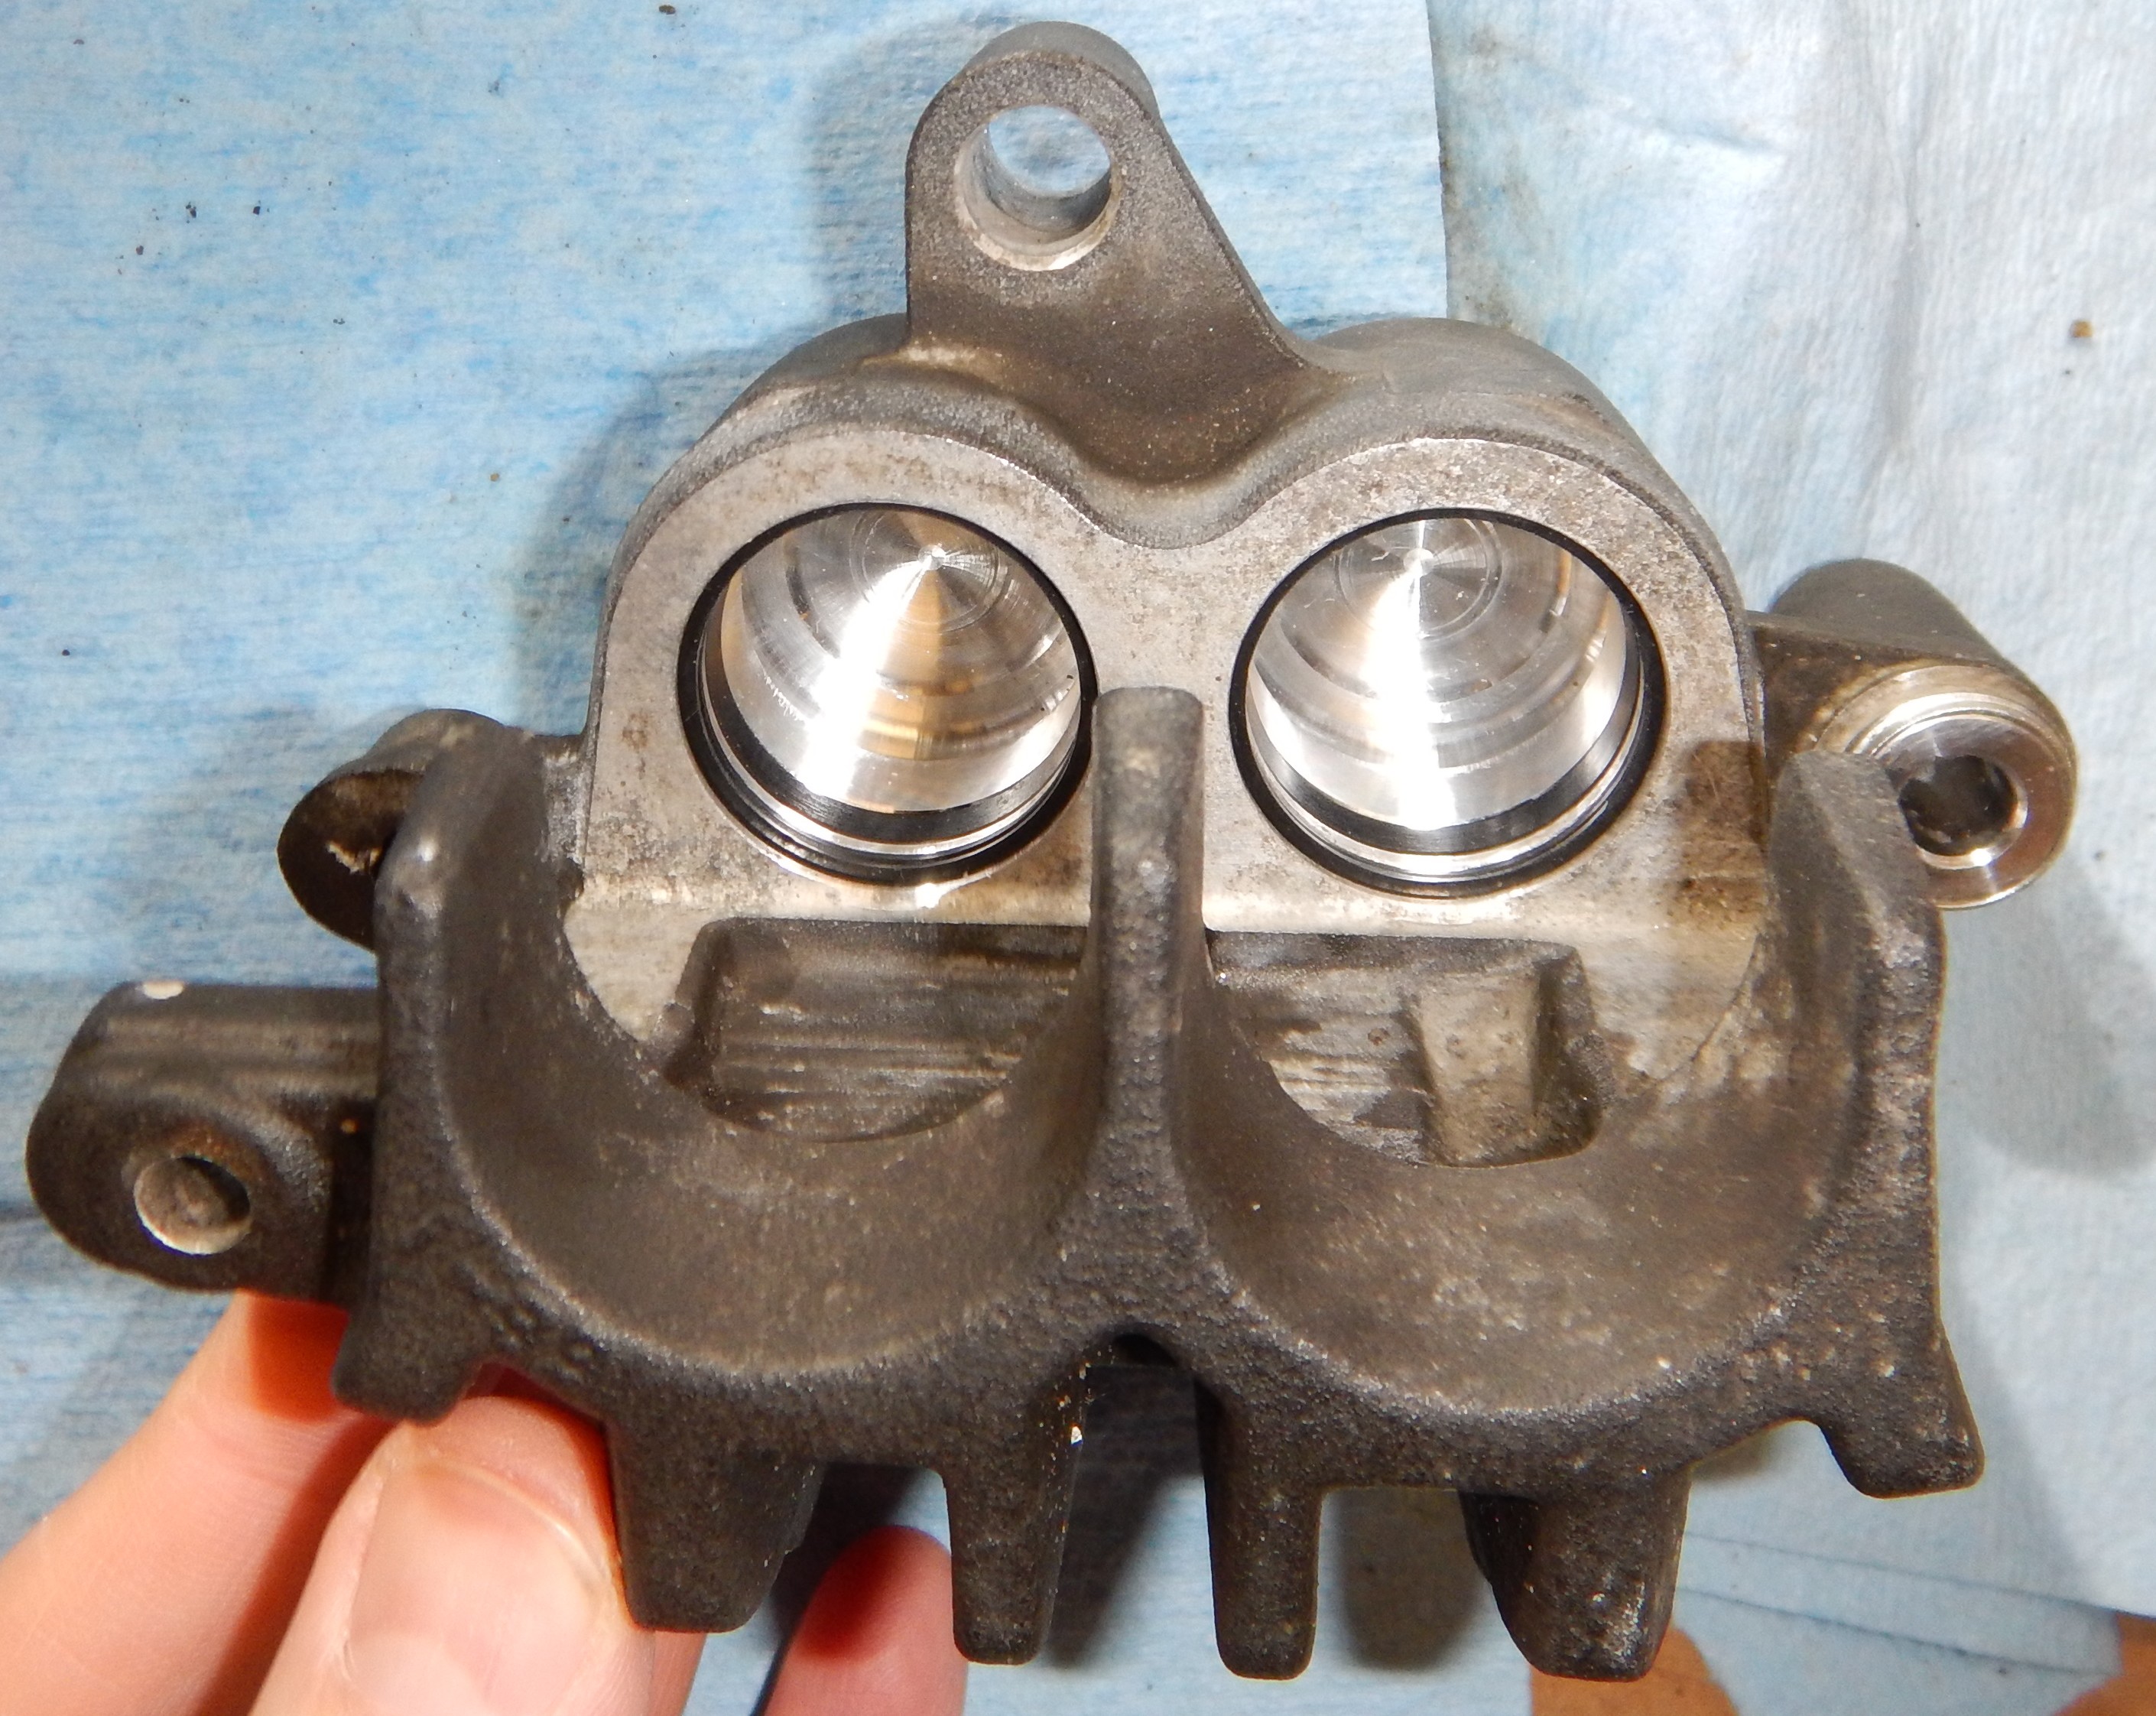
At this point you can get a good look inside the caliper bores and see the state of the outer and inner seals. On my calipers the outer seals were knackered and there was obvious salt build up behind the seals and also between the inner and outer seals. There was also signs that the salt was starting to creep behind the inner seals. Any build up behind either the inner or outer seals will cause the seals to grip the piston making it stick.
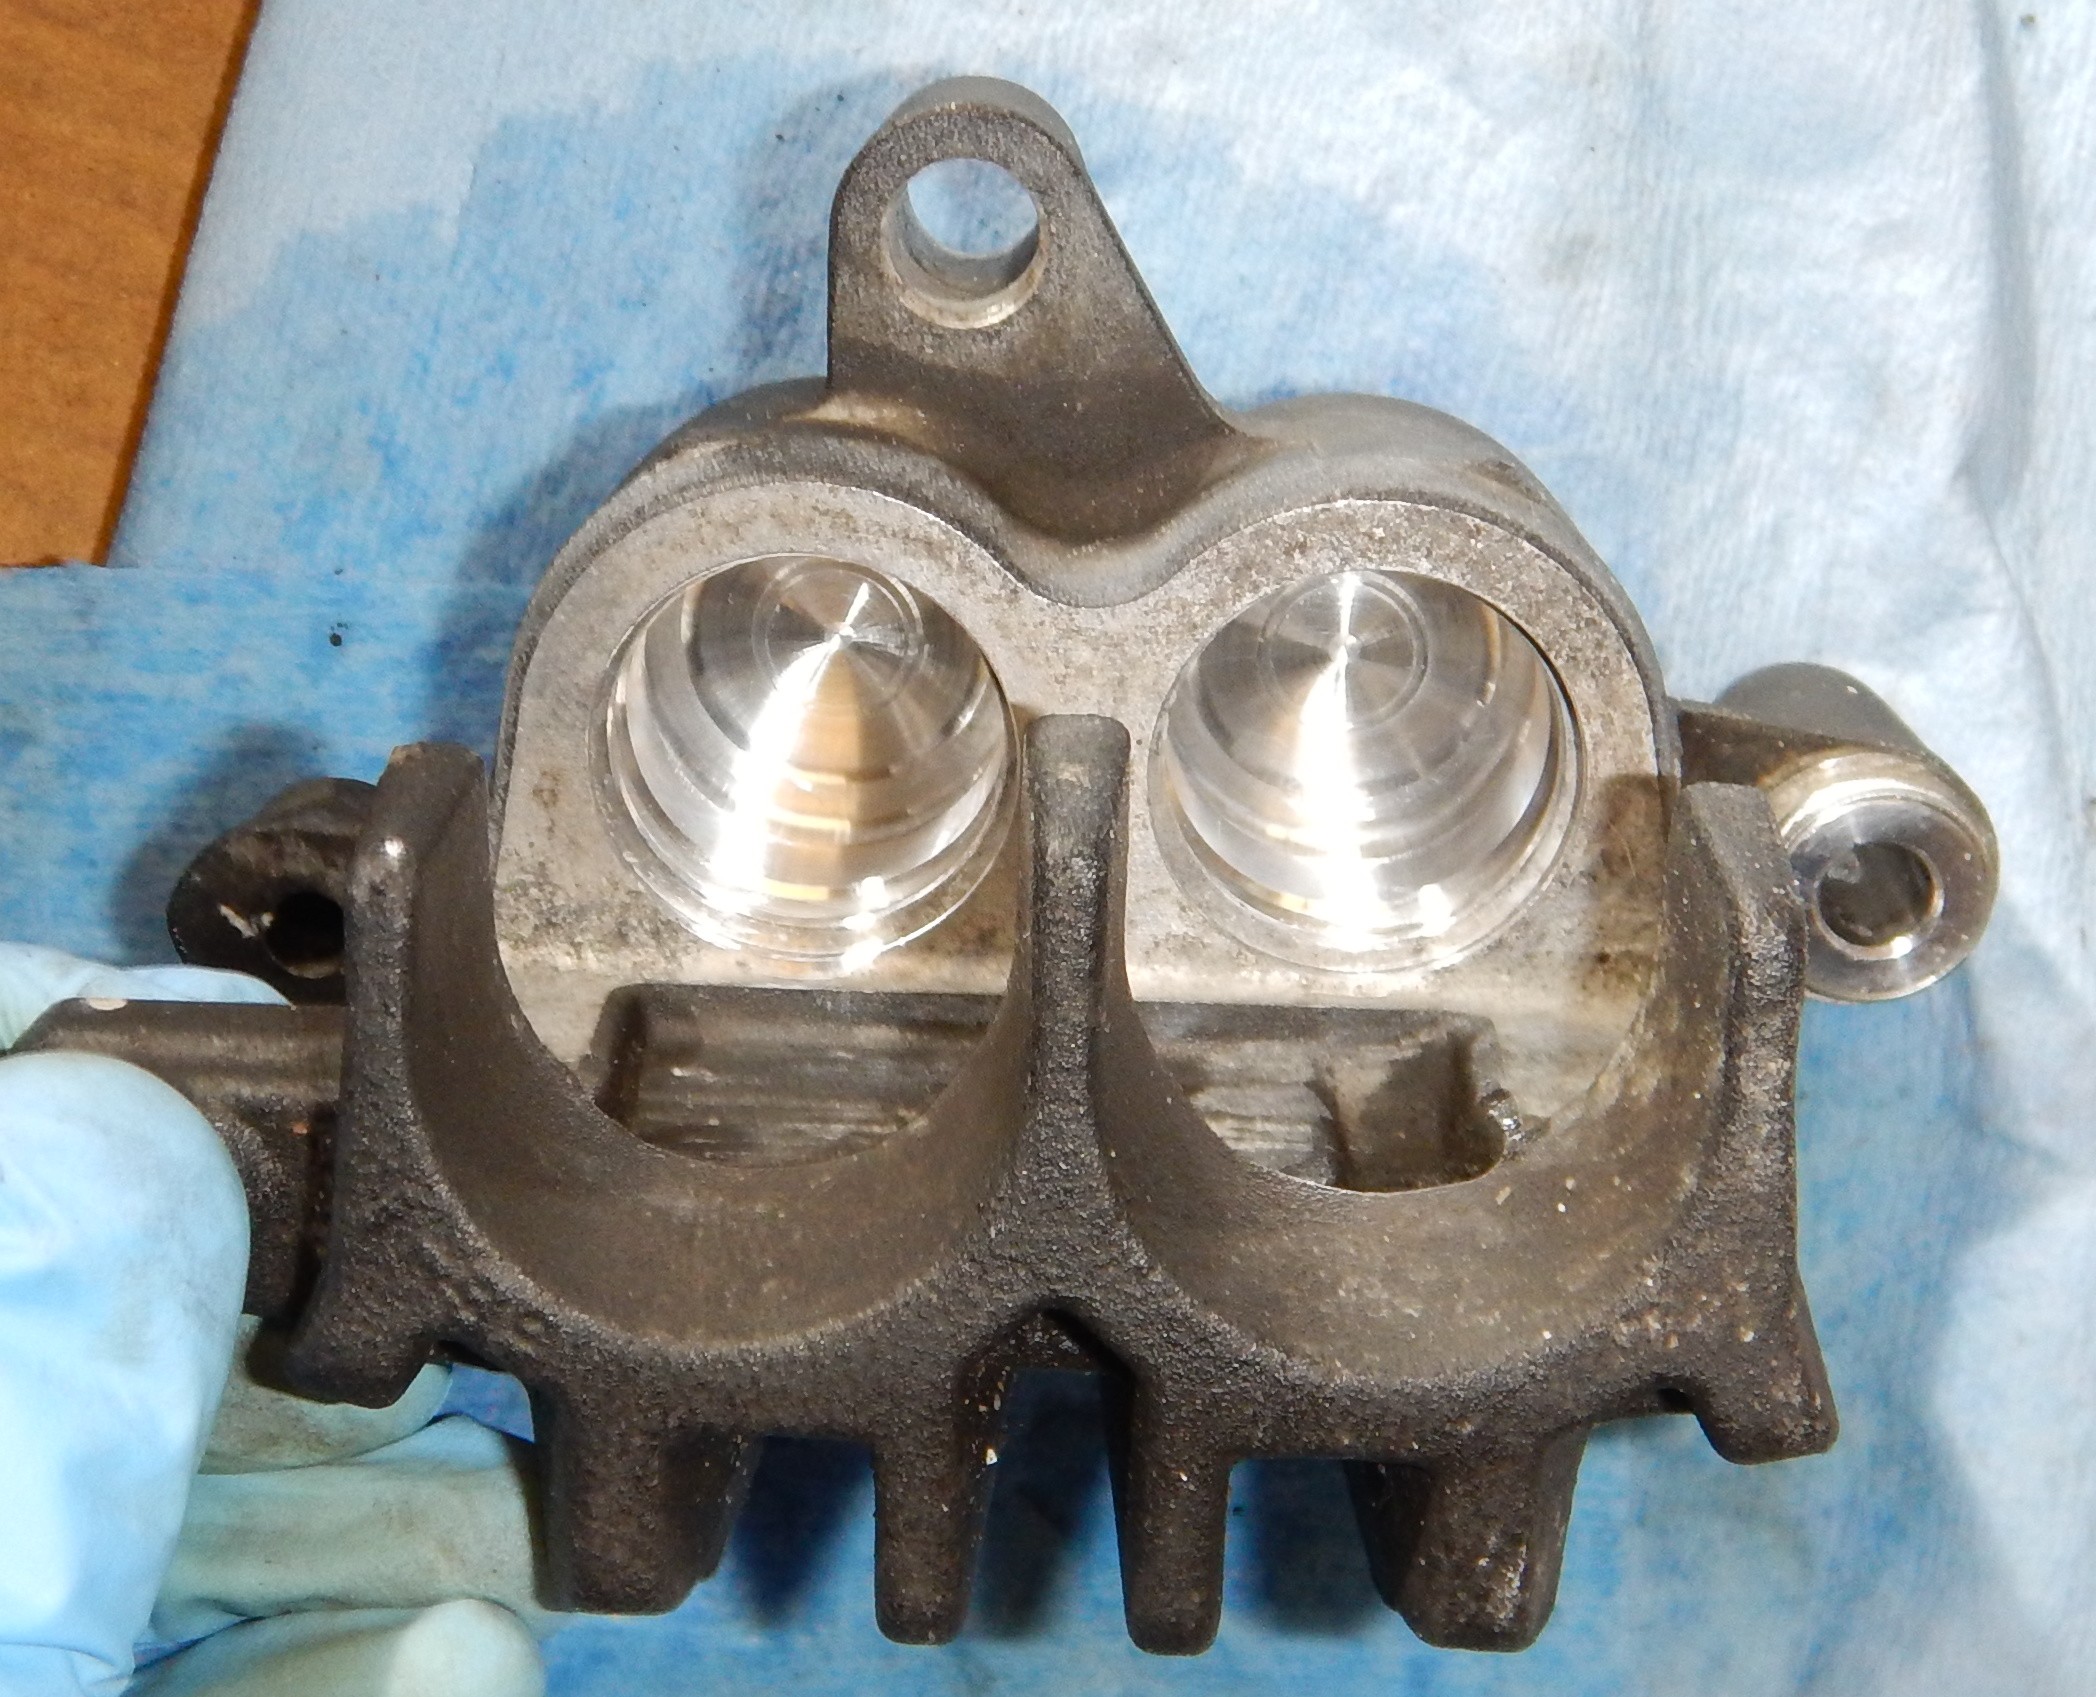
Using an angled pick, carefully remove the seals from their seating groves. The salt build-up behind them will now be obvious. Take your time and carefully remove all traces of salt and dirt from the internal surfaces of the calipers. Don’t to forget to clean the inner bore of where the sliding caliper gator goes through as this will also have some build up on it which will cause the slider to stick.

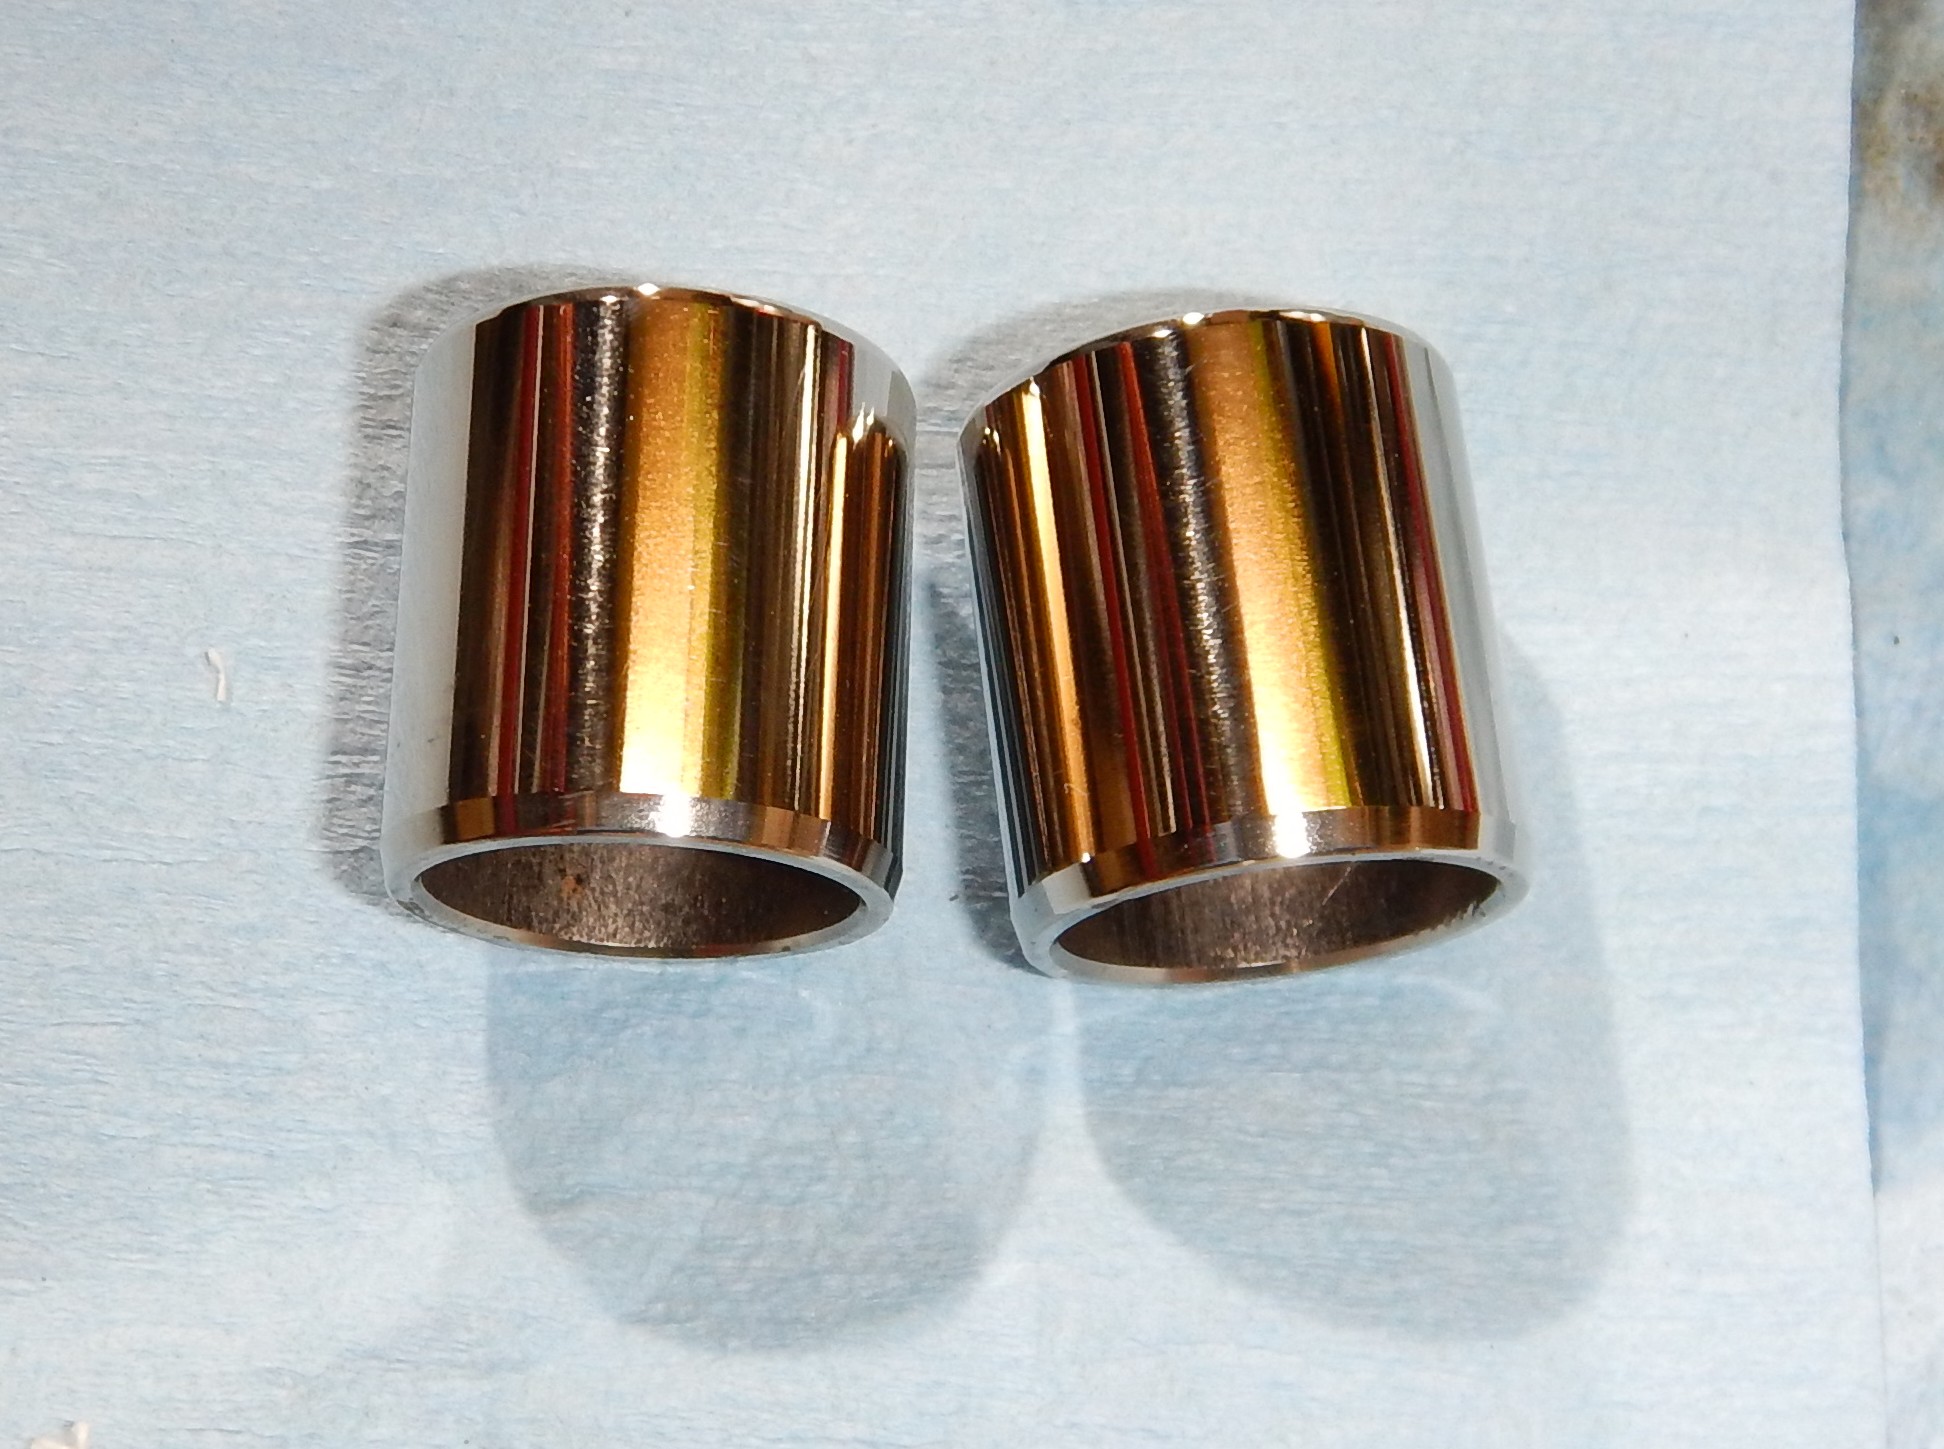
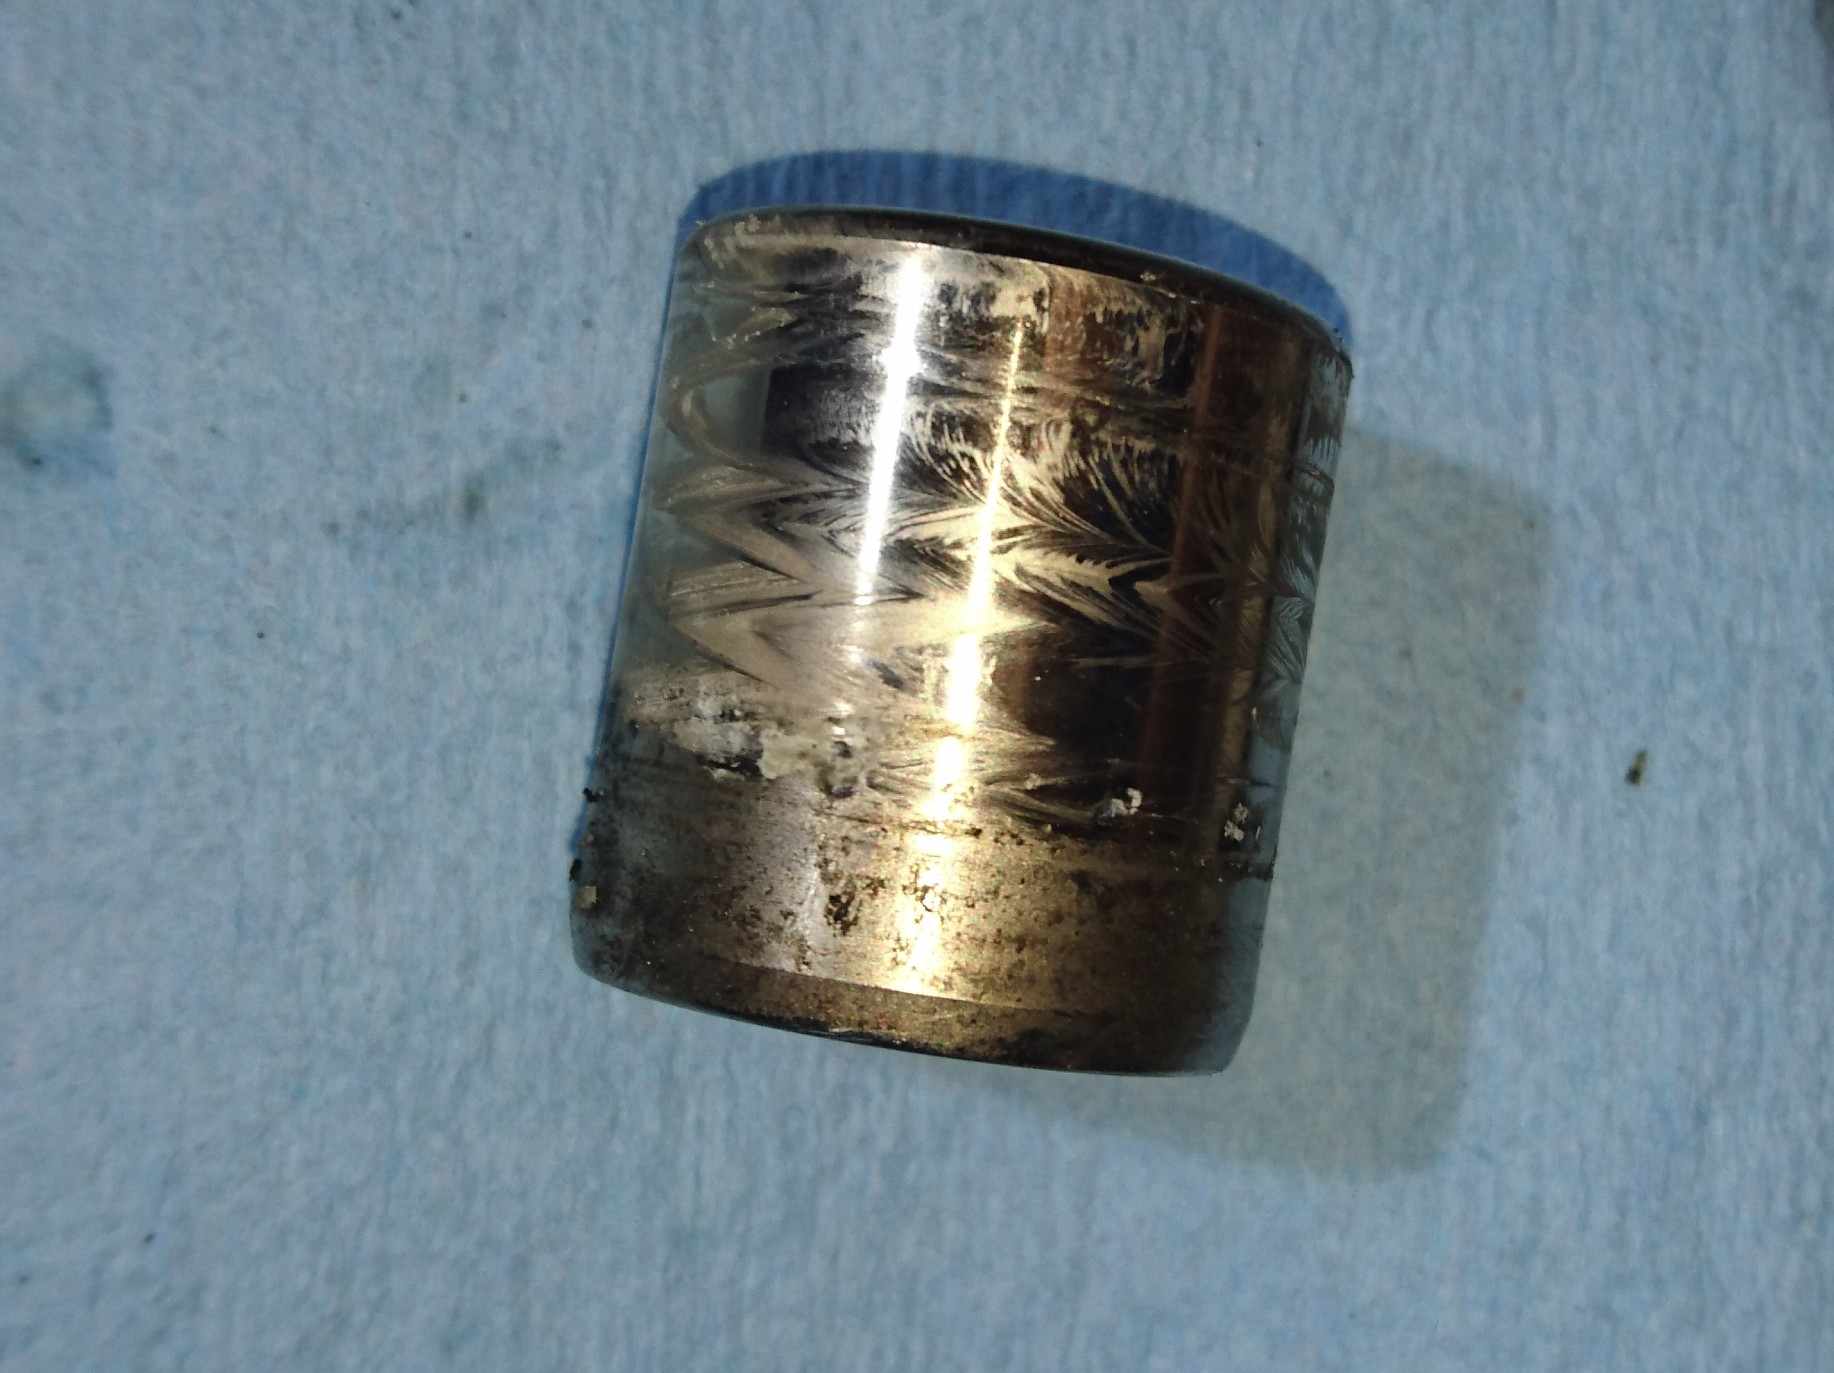
The pistons will also need to be a clean. Do not use anything more aggressive on them than a fine metal polish on the pistons. You want them looking nice and shiny without anything on their outer surface that will damage the new seals. If the outer coating is damaged or pitted then I would replace them rather than risk reusing them.
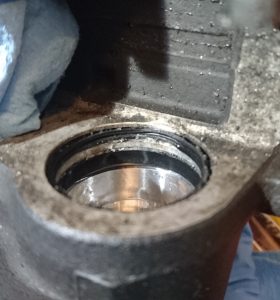
Before –

After –

Install the new caliper seals starting with the inner seals. You can use a smear of fresh brake fluid to lubricate them. Make sure that they are sitting properly in the inner groves then install the outer seals in the same way.

Lubricate the inside surface of the caliper with fresh brake fluid and install the pistons. These should slide in with ease.
Give the removed component parts a good clean.

The rest of the components can then be reassembled on the caliper. Remember to re-grease the caliper slider pins (if applicable).
Bolt the calipers back up to the bike and reattach the brake lines using new crush washers on the banjo bolt. Before removing the brake hose clamp you will need to get ready with the lid off of the brake master cylinder fluid reservoir ready to top it up with fresh fluid. You will need to hook your preferred brake bleeding equipment to the caliper bleed nipple.
Remove the brake hose clamp and slowly pump the brake lever watching the reservoir level. The air in the caliper should be displaced with fresh brake fluid. Keep going till the normal feel returns to the brake lever (with the nipple closed) and you see clean fluid coming out of the caliper.
Repeat the above for all remaining calipers. Take your time with job. It isn’t technically difficult, but you have to be very thorough with the cleaning stage and just work through it methodically.
If your calipers were in a state like mine then you will notice a massive difference both when manhandling it around and also when riding.
Al.